Tuesday 6 December 2011

Week 11 - My Structured Garment: Part 2

The first thing I undertook was to sew the bodice together, leaving the back open. To give it extra flexibility, I then sewed on an extra piece of material onto the pleated  fabric, then applied it to the bottom half of the garment.

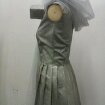
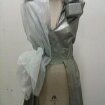
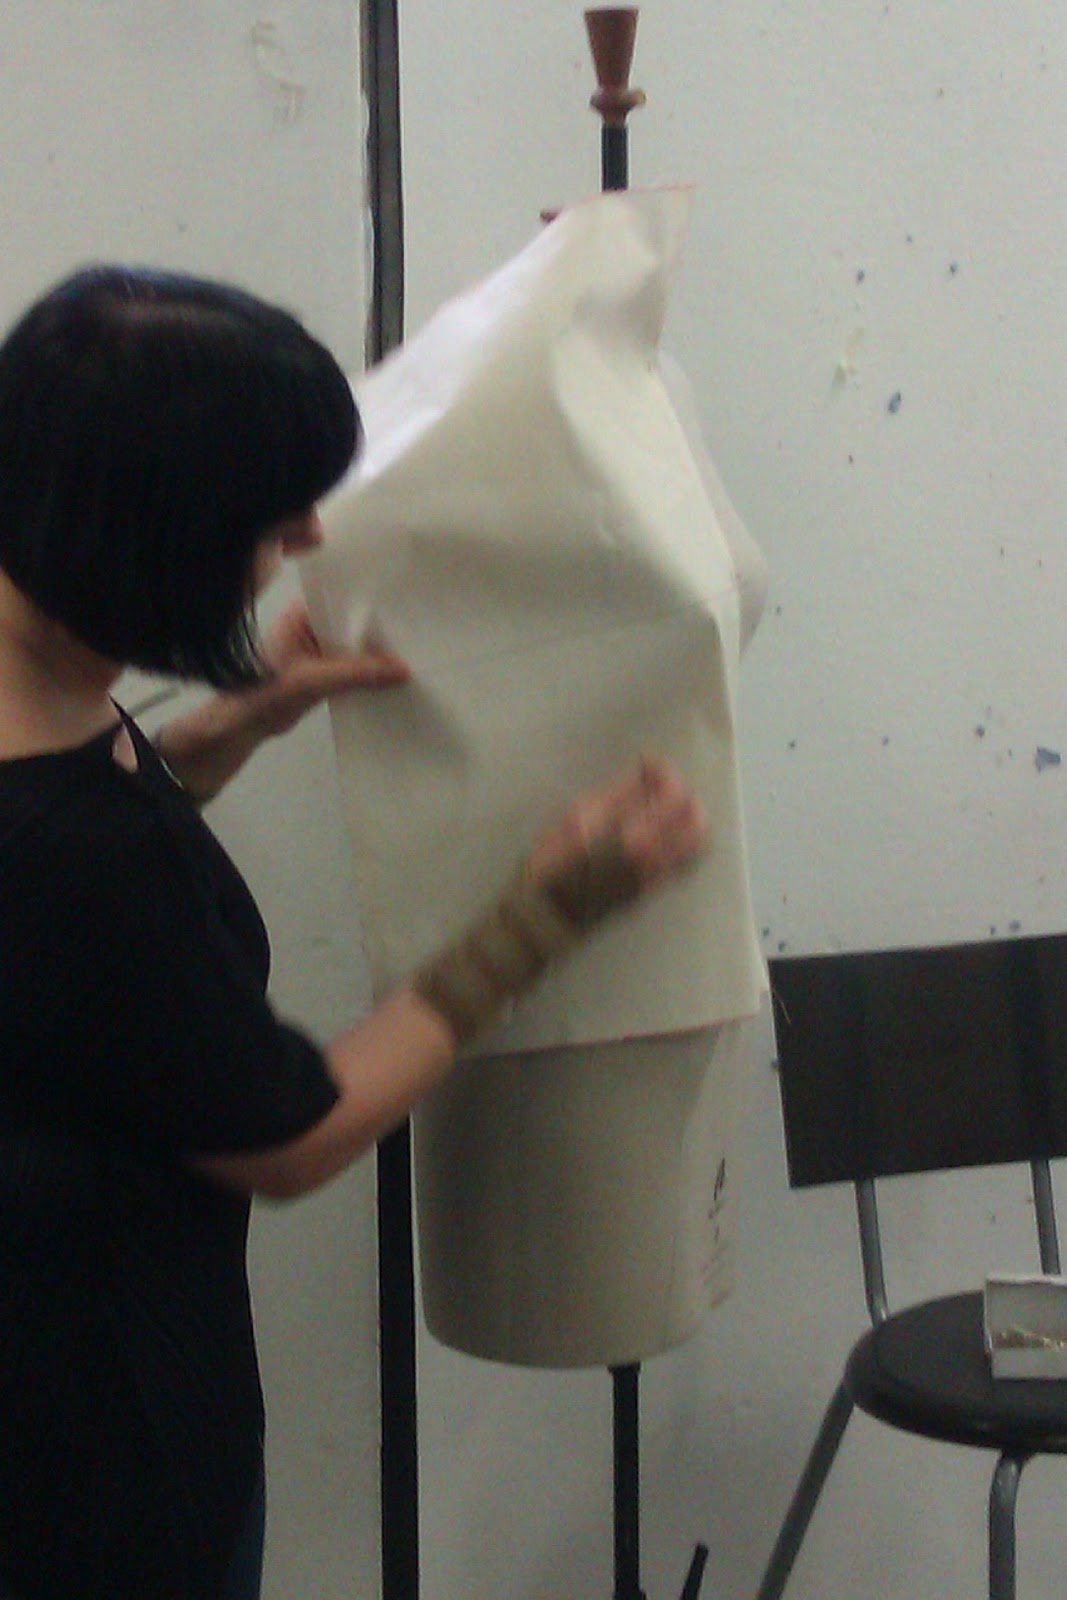
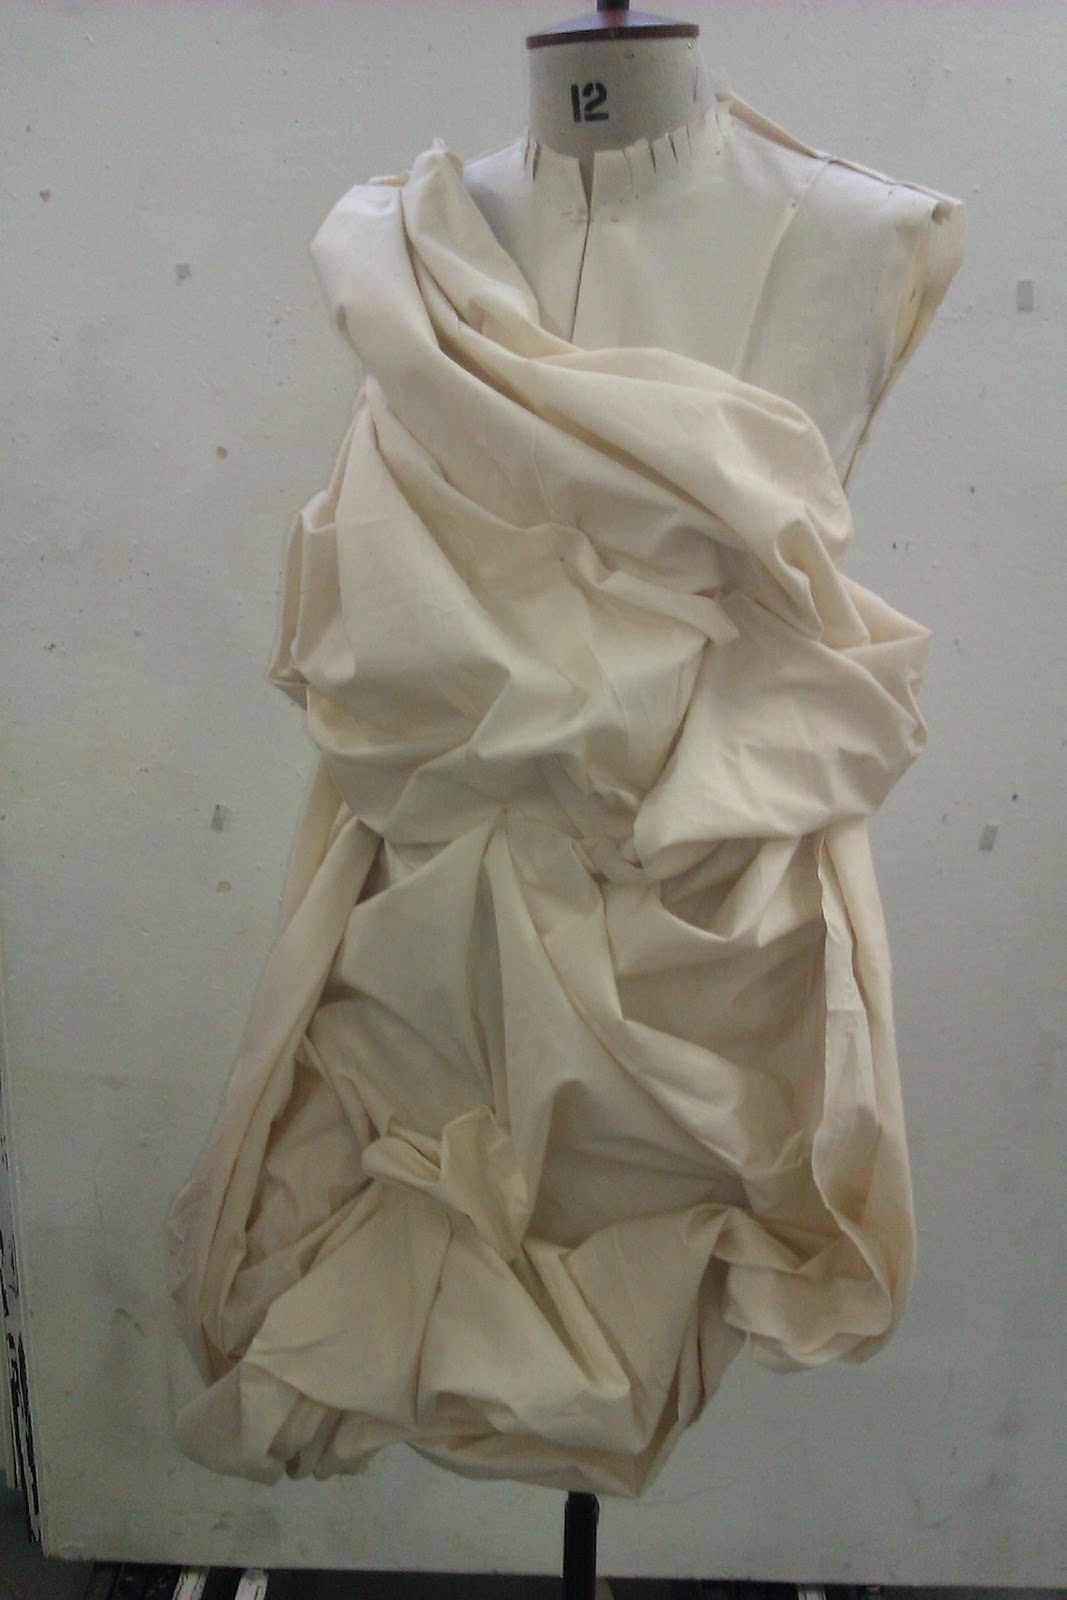
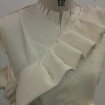
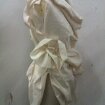
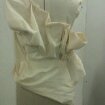
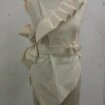
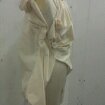
 I then went on to drape the fabric in similar ways as I did in the first part of my structured garment experimenting and searched for an advent-guard development. Since I was not satisfied with the final results from the previous experimenting, I explored this further using my imagination, until I came up with something creative, exclusive and some what more unique. 


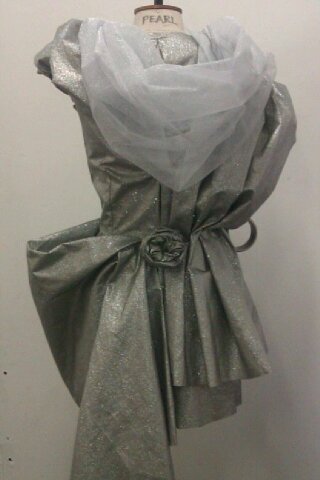
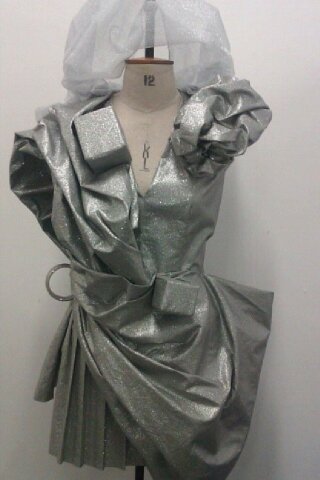
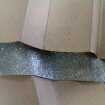
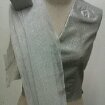
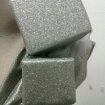
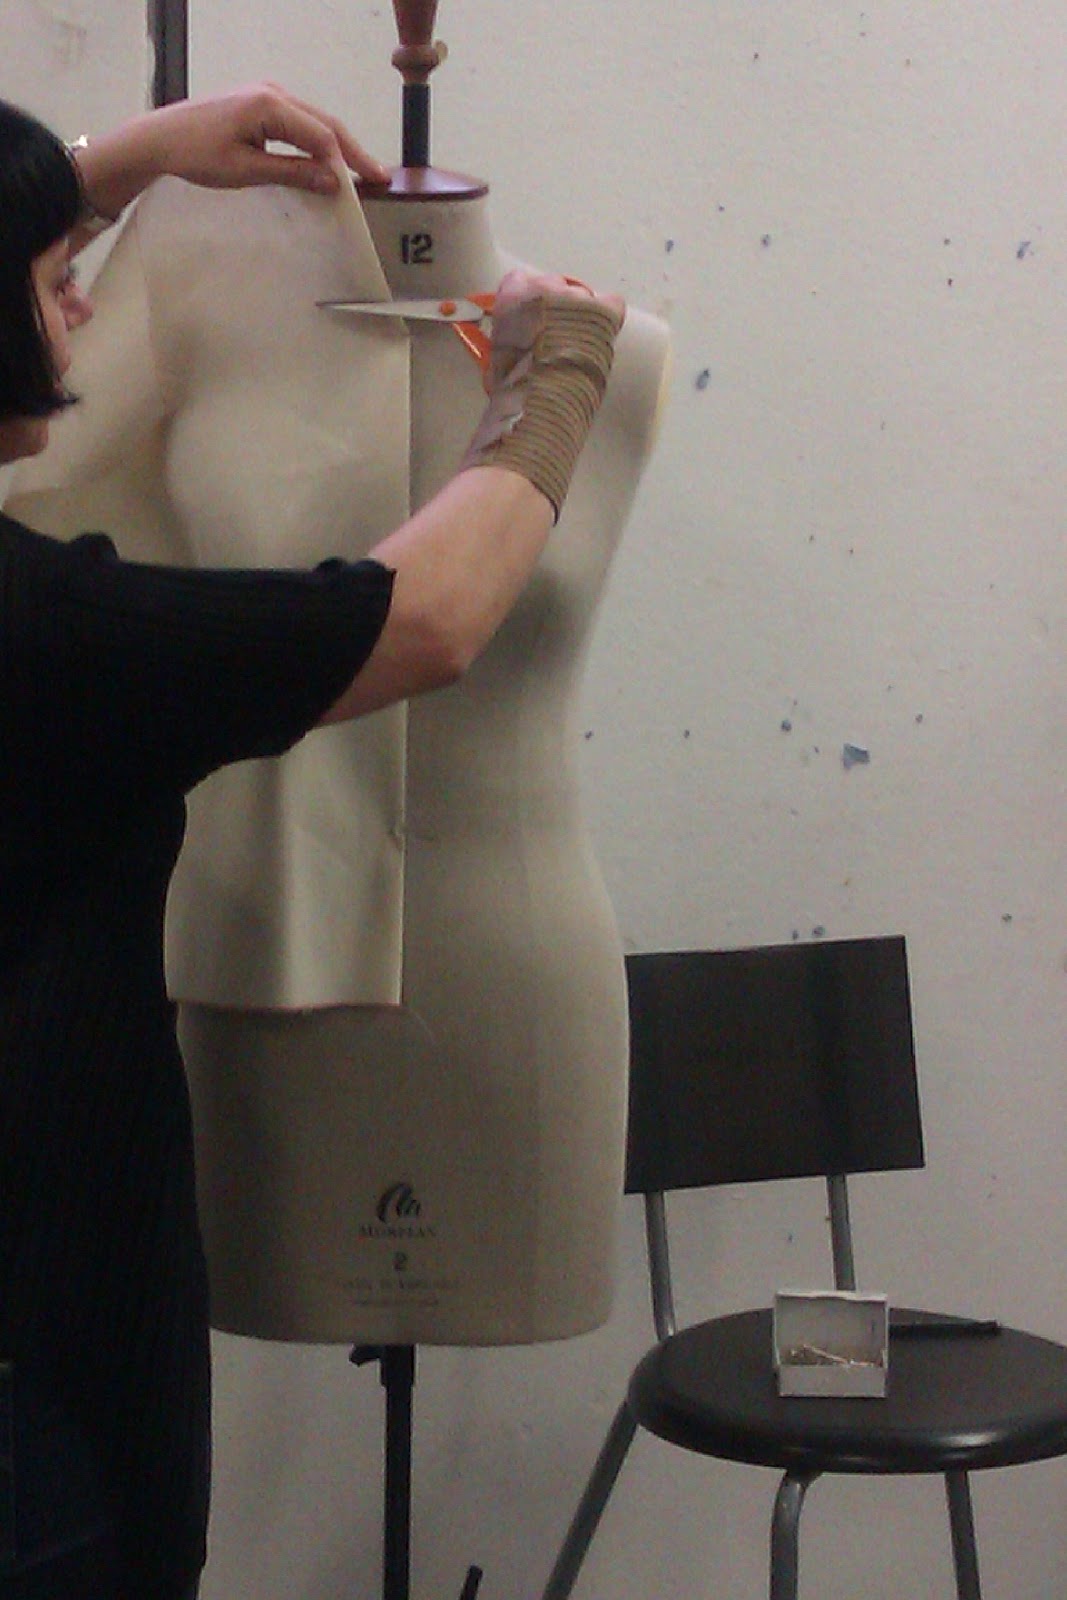
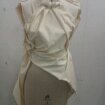
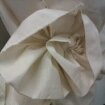
After playing around with the fabrics for a while I decided I would stick to one fabric, which was the silver glittered heavy cotton. Although I admired the extra features the net fabric, rose and boxes provided, I felt that they interfered with the structure of the dress so I made the decision to remove them all.

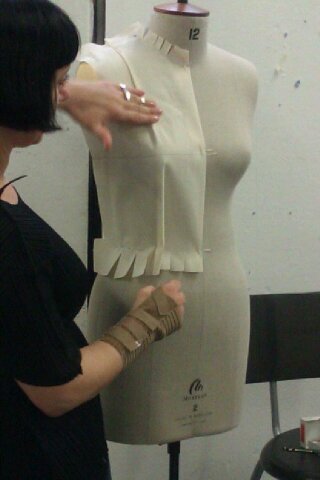
Nonetheless, I felt that garment still did not have the 'WOW factor' so I decided I would play around with the draping to create its final look. 


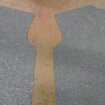
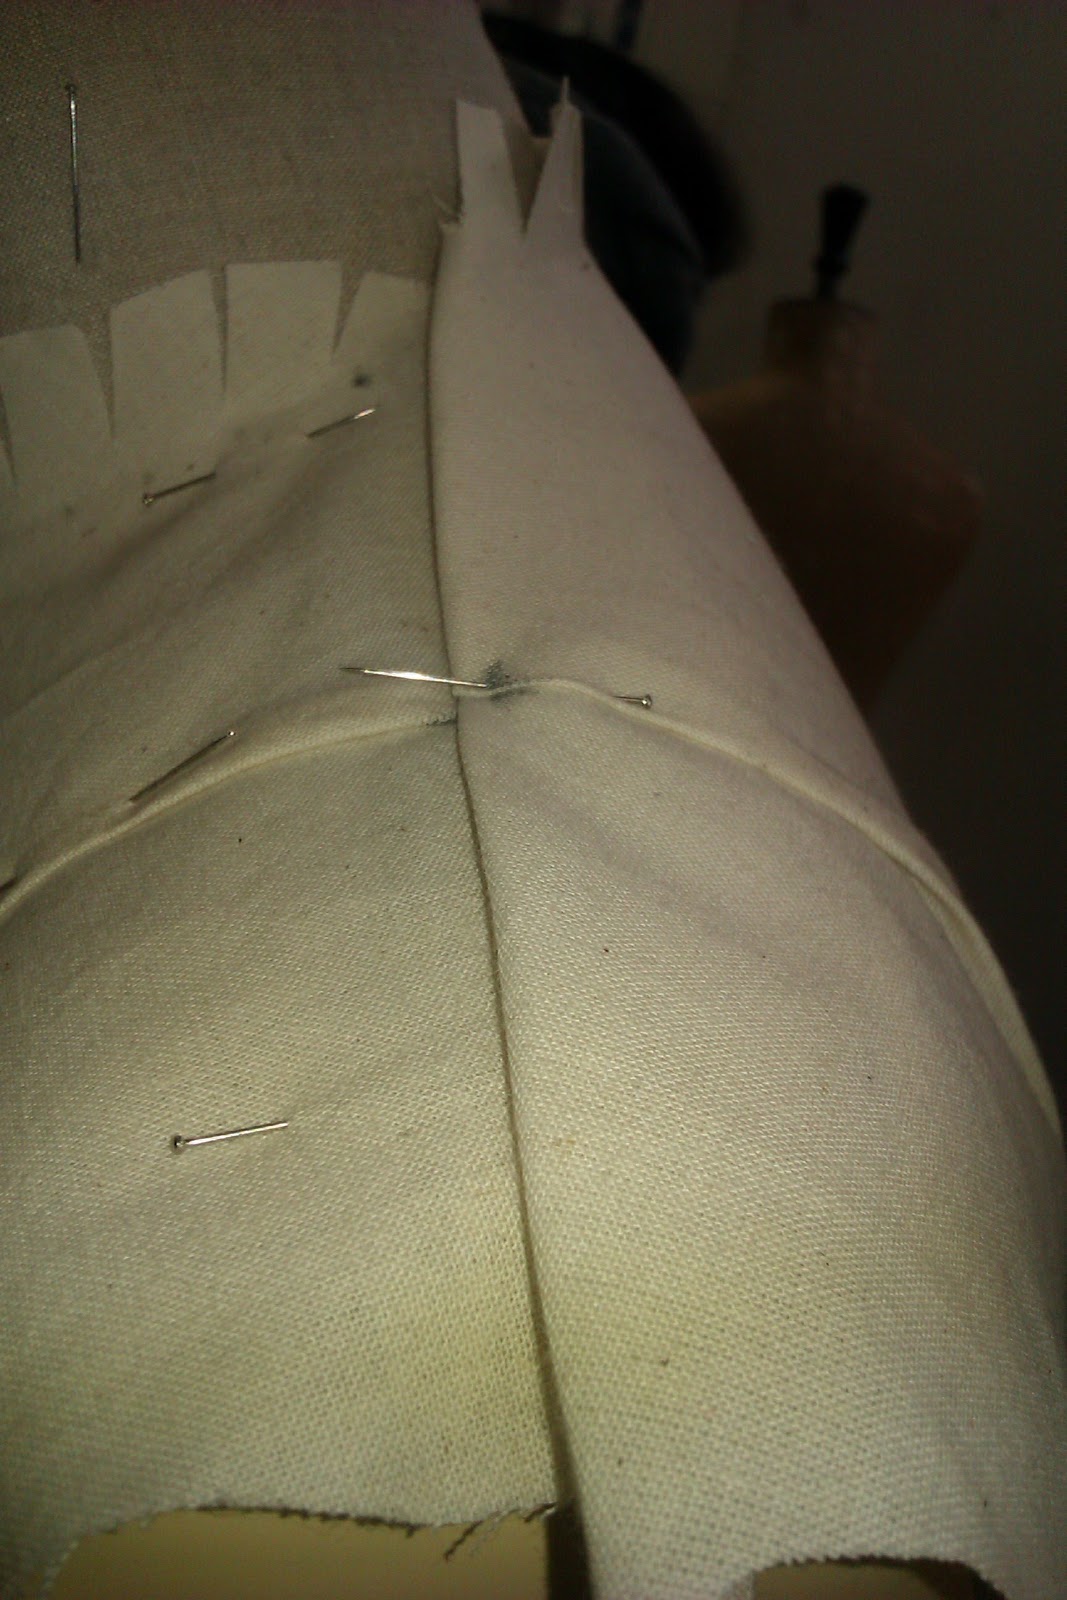
Overall, I am rather fascinated with the construction of the final outcome of my garment, it seems to me to have a Roman structured effect with the pleating and the draping. The main challenge that I came across was the fact that the glitter from the fabric kept on shedding everywhere, which I found quite annoying. Another trial I came across was the fact that the pleats began to fall out and also the problem of the glitter rubbing off on parts of the pleats. I also had a problem with the opening at the back of dress, as I could see the stitching from the zip. For this reason, I decided to leave the back open which I felt gave the garment an exclusive completion.


Friday 25 November 2011

Week 10 - My Structured Garment: Part 1

Now that we have come to the final stages, it's time to produce a structured garment. I enjoyed doing the pleating  and draping, so I decided to use both of the techniques to make my garment. I liked the combination, as the pleating  challenged me to do something different, whilst on the other hand the draping gave off a sort of Roman cultured look, which I thought complimented each other well. I also thought the mixture of the draping and pleating would create something contrasting, diverse and individual.

The fabric I used was a silver glittered type of heavy cotton. I chose this fabric because it is unique and bold. outs. Furthermore, I felt it would pleat and drape as well as calico does.

Step 1

The first step was to cut the fabric for the pleats and then make the templates.


Then I went on to pleat the fabric.I did so by laying the fabric inbetween the two templates, which formed the pleats. Afterwards, I applied hot steam to them to create the pleats that would stay in place.  
I then went on to make the bodice, using the pattern I made in Week 9.


I then played around trying different ways to join the pleats to the bodice and drape the fabric around the bodice. After that i created boxes and a rose to give my garment a original look.


Tuesday 15 November 2011

Week 9 - Draping Fabric


Creating a simple bodice on  the stand was the first part of this project. The reason for making this item was to be able to have a base to drape fabric from. A piece of calico 30cm x 40cm was applied onto the tailors dummy.


 The fabric was tightly fitted around the tailors dummy forming the shape of the upper body. Excess fabric was then cut away from around the neck and down the side.


Snips were then applied around the neck and also around the bottom. Darts were applied at the back and on the bust to form a tight fitted bodice. The shoulder, back and front seams were then joined together to bring the garment together, the same was done for the side seams.


Tape was then laid around the waist of the garment, so that the waistline could be marked in the right place. Around the armhole was also marked, where a sleeve would be joined.


NEXT STEP


Calico was than draped onto the stand to form different designs. At fist the calico I was using was to big, so I found it hard to create designs that worked.


I then decided to work with smaller pieces, which were easier to manage and also created workable and creative designs. Pairing up with another student we created many different designs. Here are some of the selection.