Friday 25 November 2011

Week 10 - My Structured Garment: Part 1

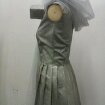
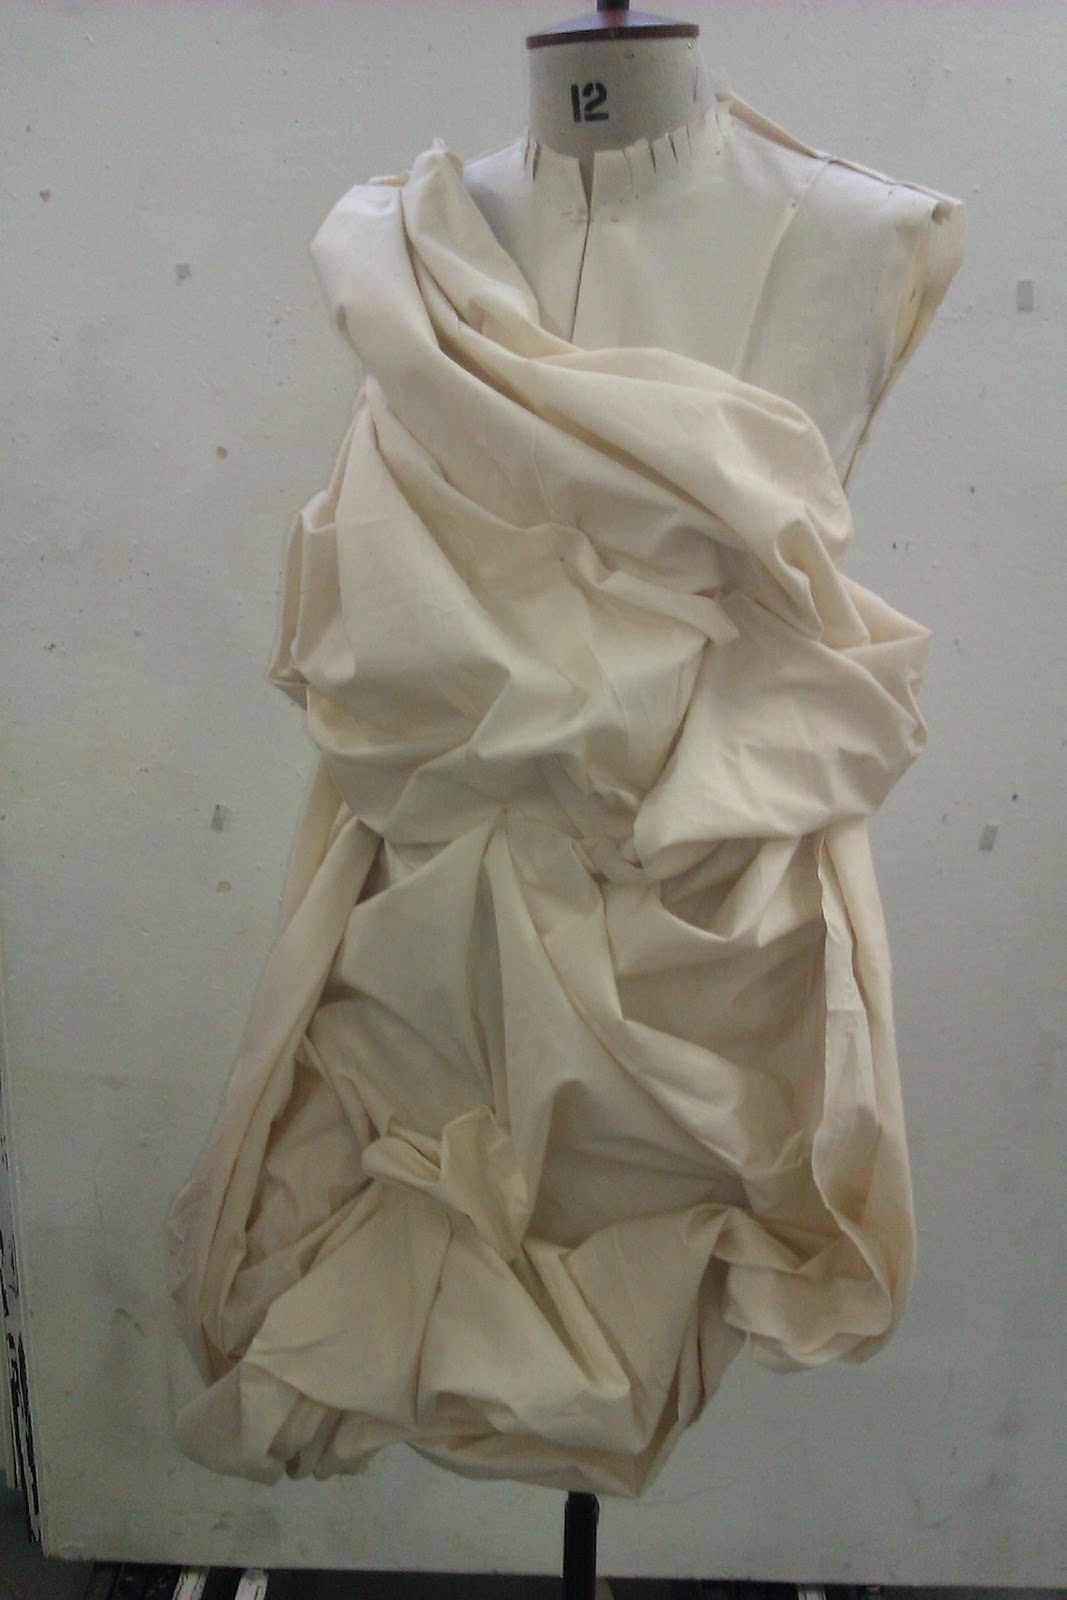
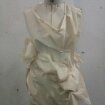
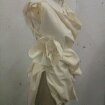
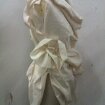
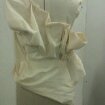
Now that we have come to the final stages, it's time to produce a structured garment. I enjoyed doing the pleating  and draping, so I decided to use both of the techniques to make my garment. I liked the combination, as the pleating  challenged me to do something different, whilst on the other hand the draping gave off a sort of Roman cultured look, which I thought complimented each other well. I also thought the mixture of the draping and pleating would create something contrasting, diverse and individual.

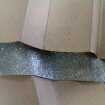
The fabric I used was a silver glittered type of heavy cotton. I chose this fabric because it is unique and bold. outs. Furthermore, I felt it would pleat and drape as well as calico does.
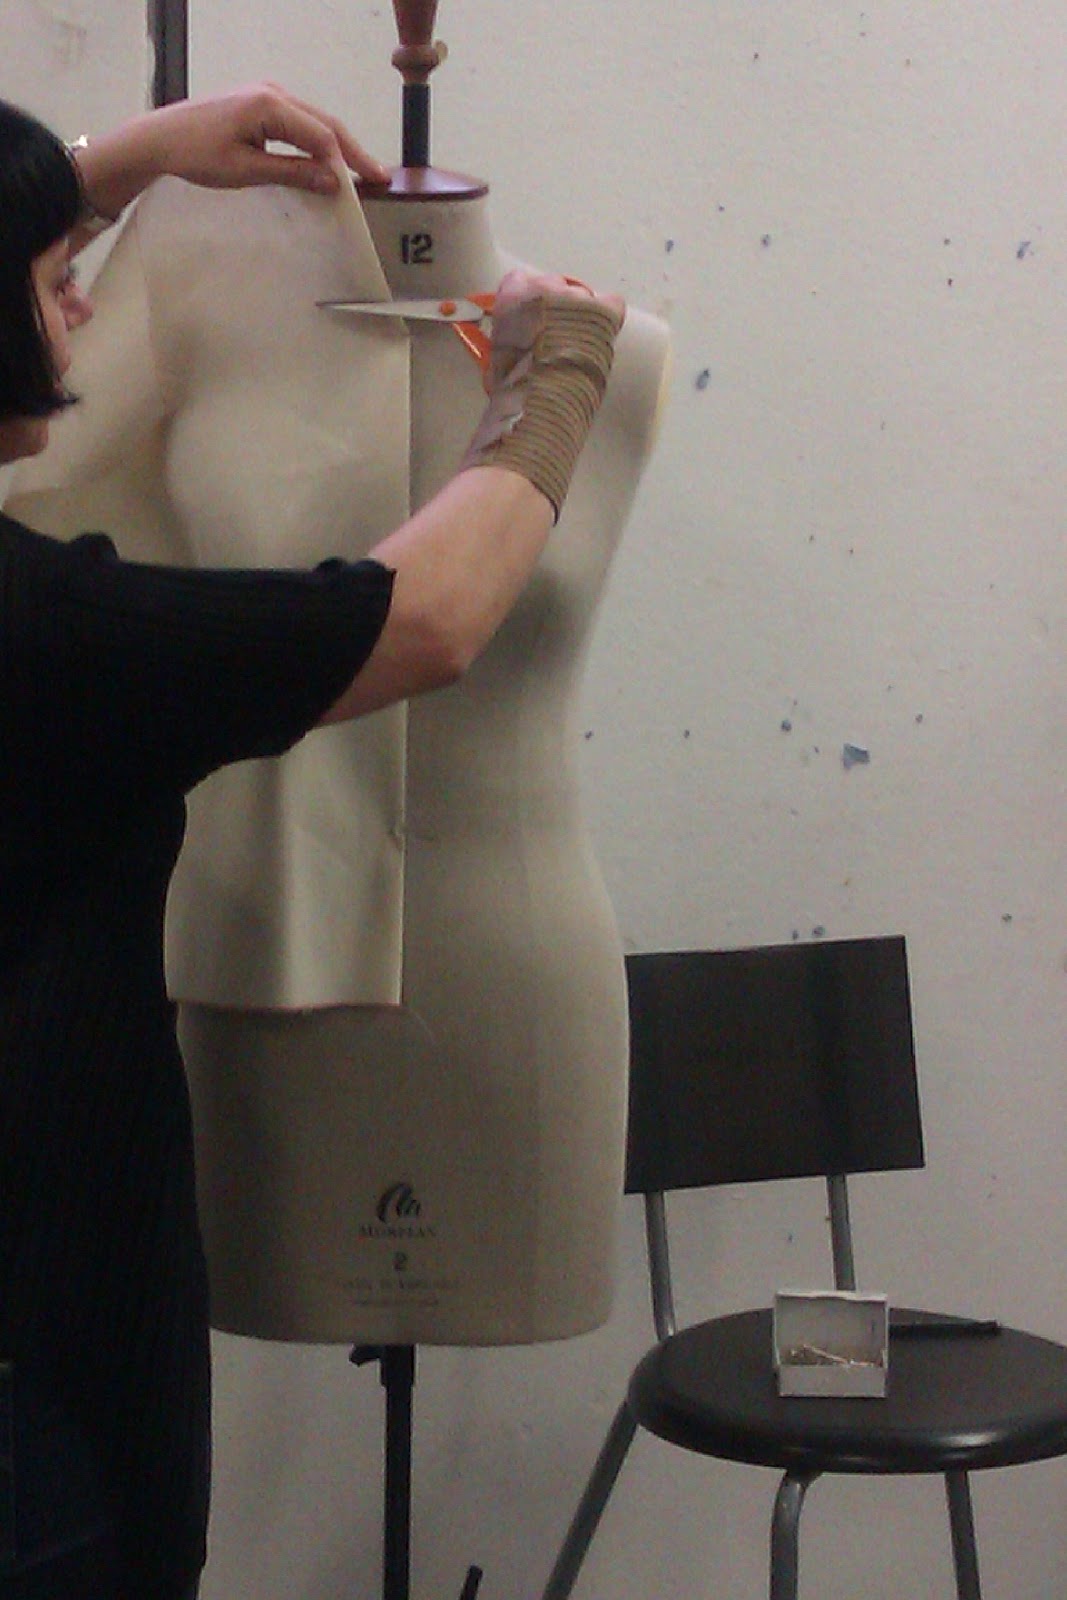
Step 1

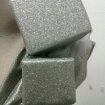
The first step was to cut the fabric for the pleats and then make the templates.


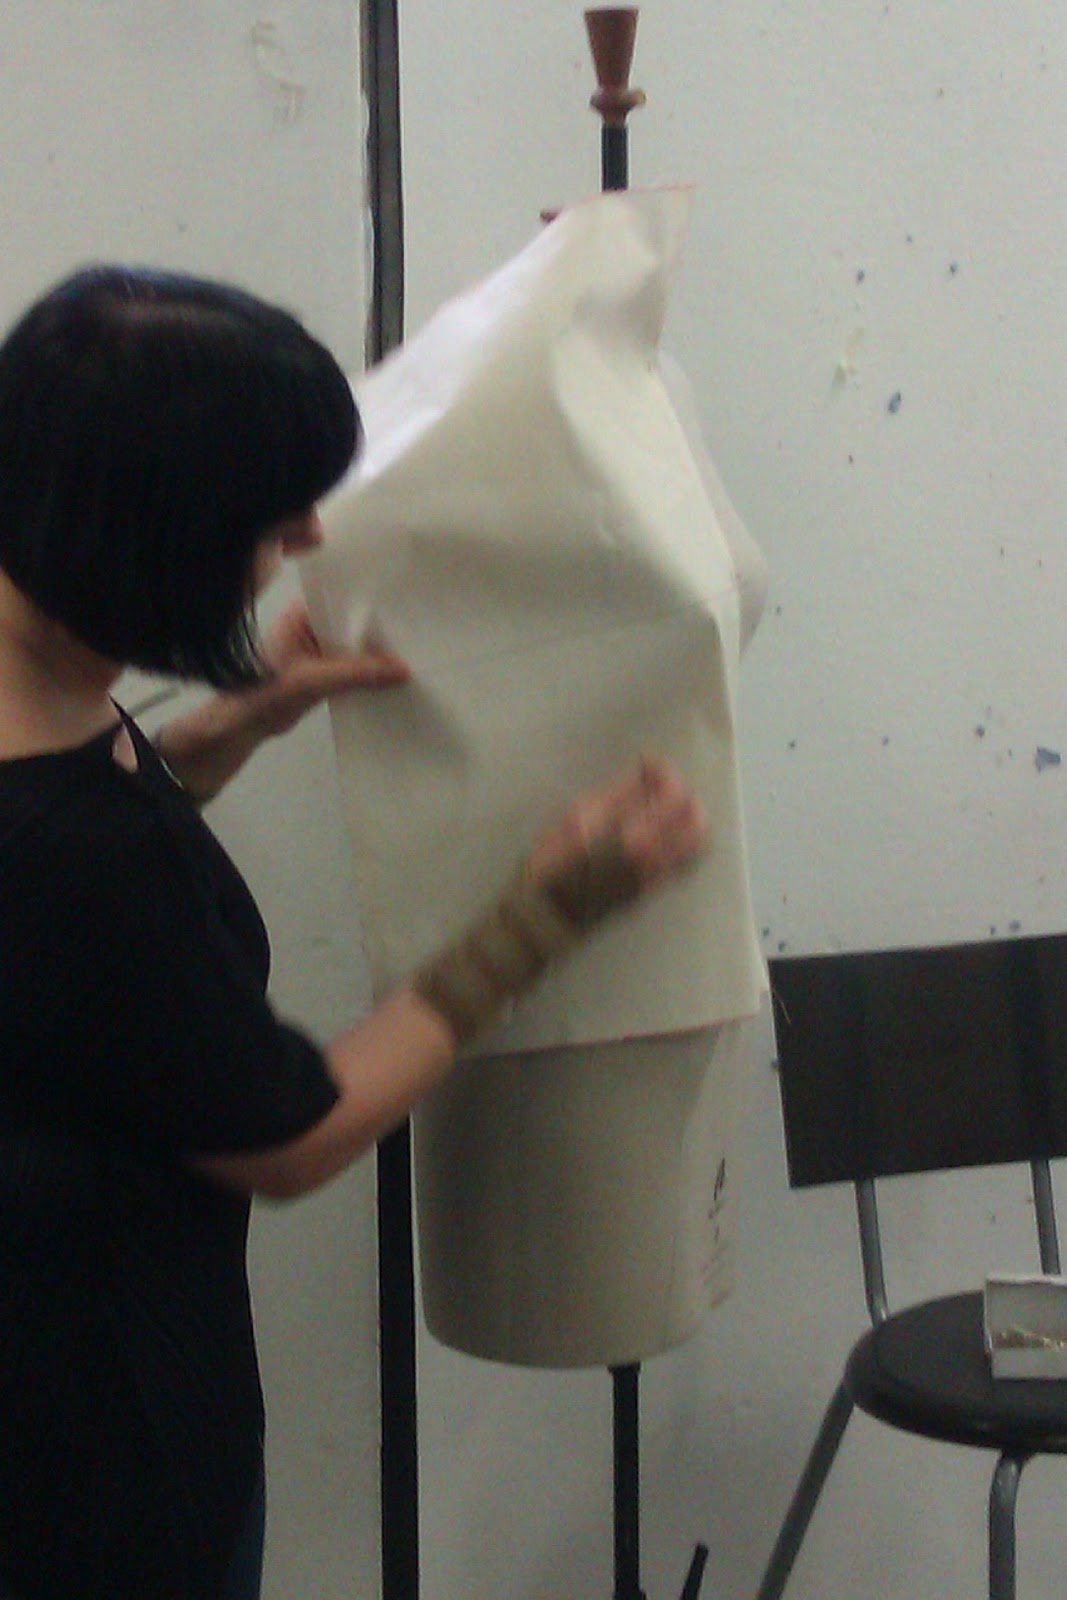
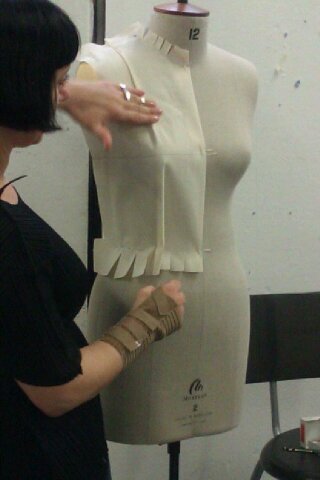
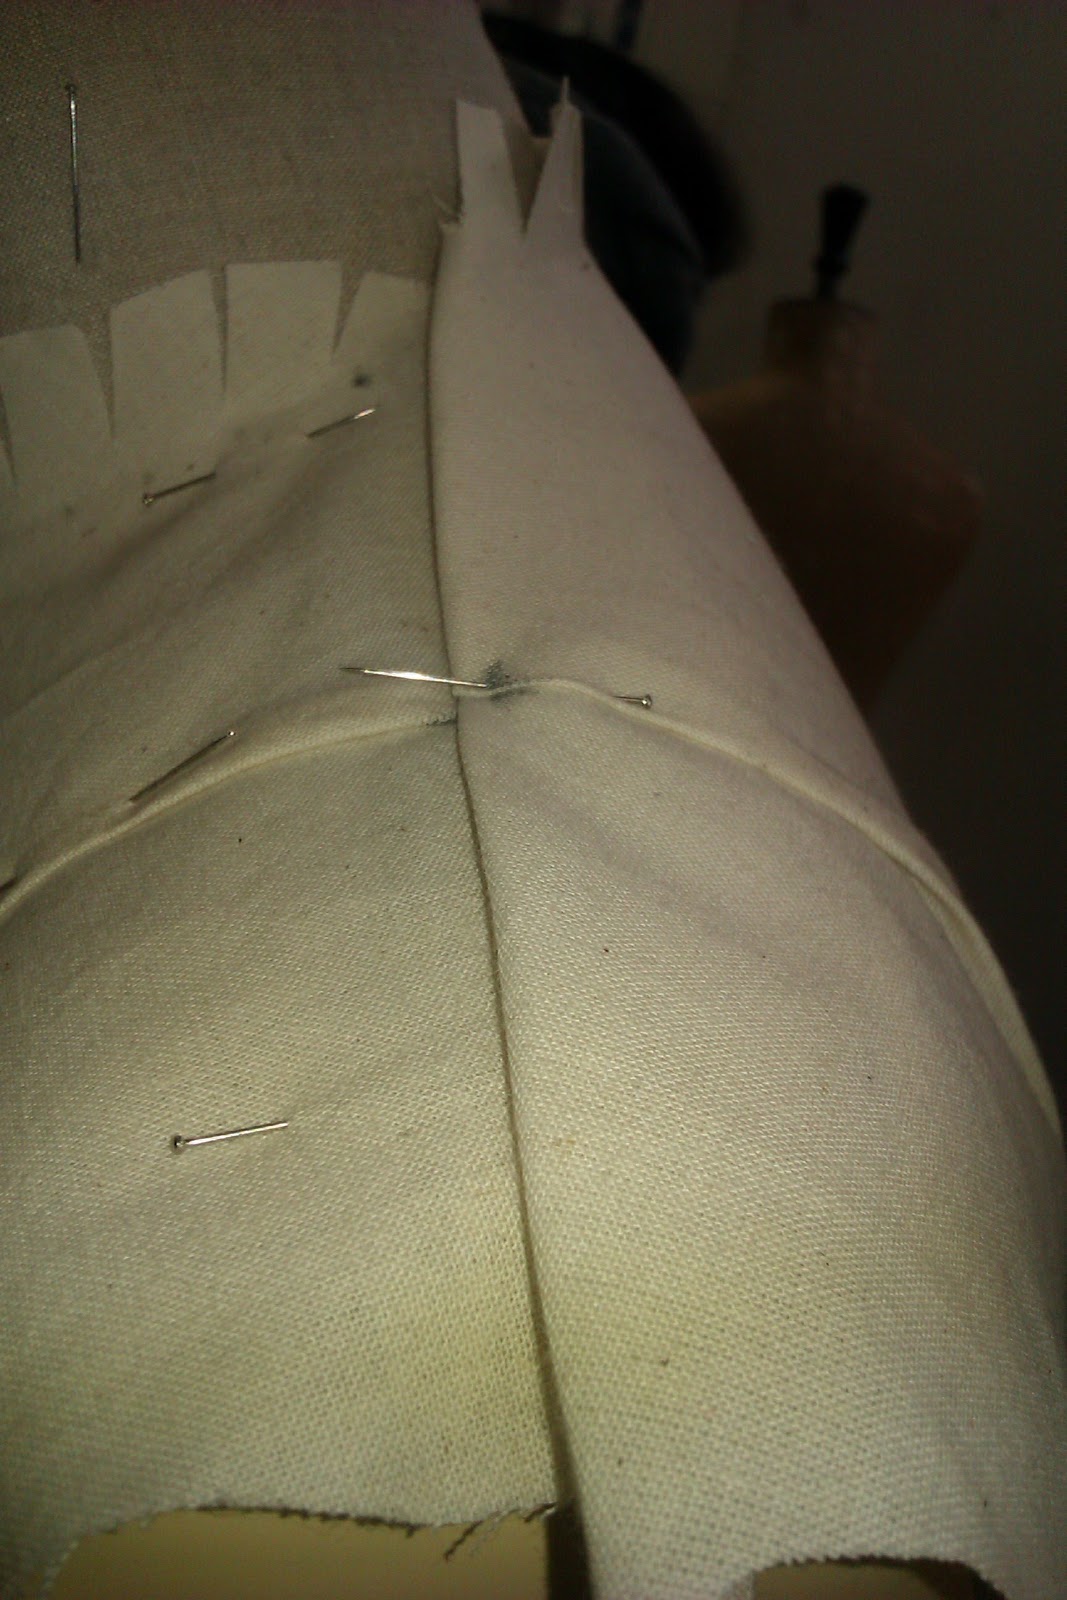
Then I went on to pleat the fabric.I did so by laying the fabric inbetween the two templates, which formed the pleats. Afterwards, I applied hot steam to them to create the pleats that would stay in place.  
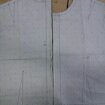
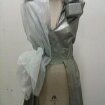
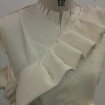
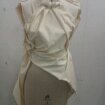
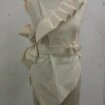
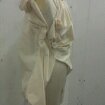
I then went on to make the bodice, using the pattern I made in Week 9.


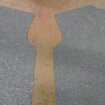
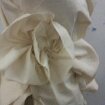
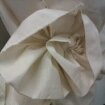
I then played around trying different ways to join the pleats to the bodice and drape the fabric around the bodice. After that i created boxes and a rose to give my garment a original look.


Tuesday 15 November 2011

Week 9 - Draping Fabric


Creating a simple bodice on  the stand was the first part of this project. The reason for making this item was to be able to have a base to drape fabric from. A piece of calico 30cm x 40cm was applied onto the tailors dummy.


 The fabric was tightly fitted around the tailors dummy forming the shape of the upper body. Excess fabric was then cut away from around the neck and down the side.


Snips were then applied around the neck and also around the bottom. Darts were applied at the back and on the bust to form a tight fitted bodice. The shoulder, back and front seams were then joined together to bring the garment together, the same was done for the side seams.


Tape was then laid around the waist of the garment, so that the waistline could be marked in the right place. Around the armhole was also marked, where a sleeve would be joined.


NEXT STEP


Calico was than draped onto the stand to form different designs. At fist the calico I was using was to big, so I found it hard to create designs that worked.


I then decided to work with smaller pieces, which were easier to manage and also created workable and creative designs. Pairing up with another student we created many different designs. Here are some of the selection.


Wednesday 9 November 2011

Week 8 - Pleating

This week we had a presentation on the process of fabric pleating from a member of Ciment Pleating. Here are a variety of a number of samples and card templates used for the different kind of pleats that can be created by the company. Some of these pleats can be time consuming but the end results are worth it.


Origami is a traditional Japanese paper folding art.It consists of the use of folding and sculpture techniques on a flat piece of material . Here are some of the structures evolved from it.


Star Waves

Birth of  Stars


K's Origami Side Pleat Folding


Creative Japanese fashion designer Issey Myakie has also used pleats in some of his designs. He designed a collection 132 5. where he expanded two-dimensional graphical shapes into conceptual structured garments. Below is a range from different collections that show how he has created garments using pleats.